Teriyaki Chicken Meal Prep Bowls – Easy, Flavorful, and Weeknight-Friendly
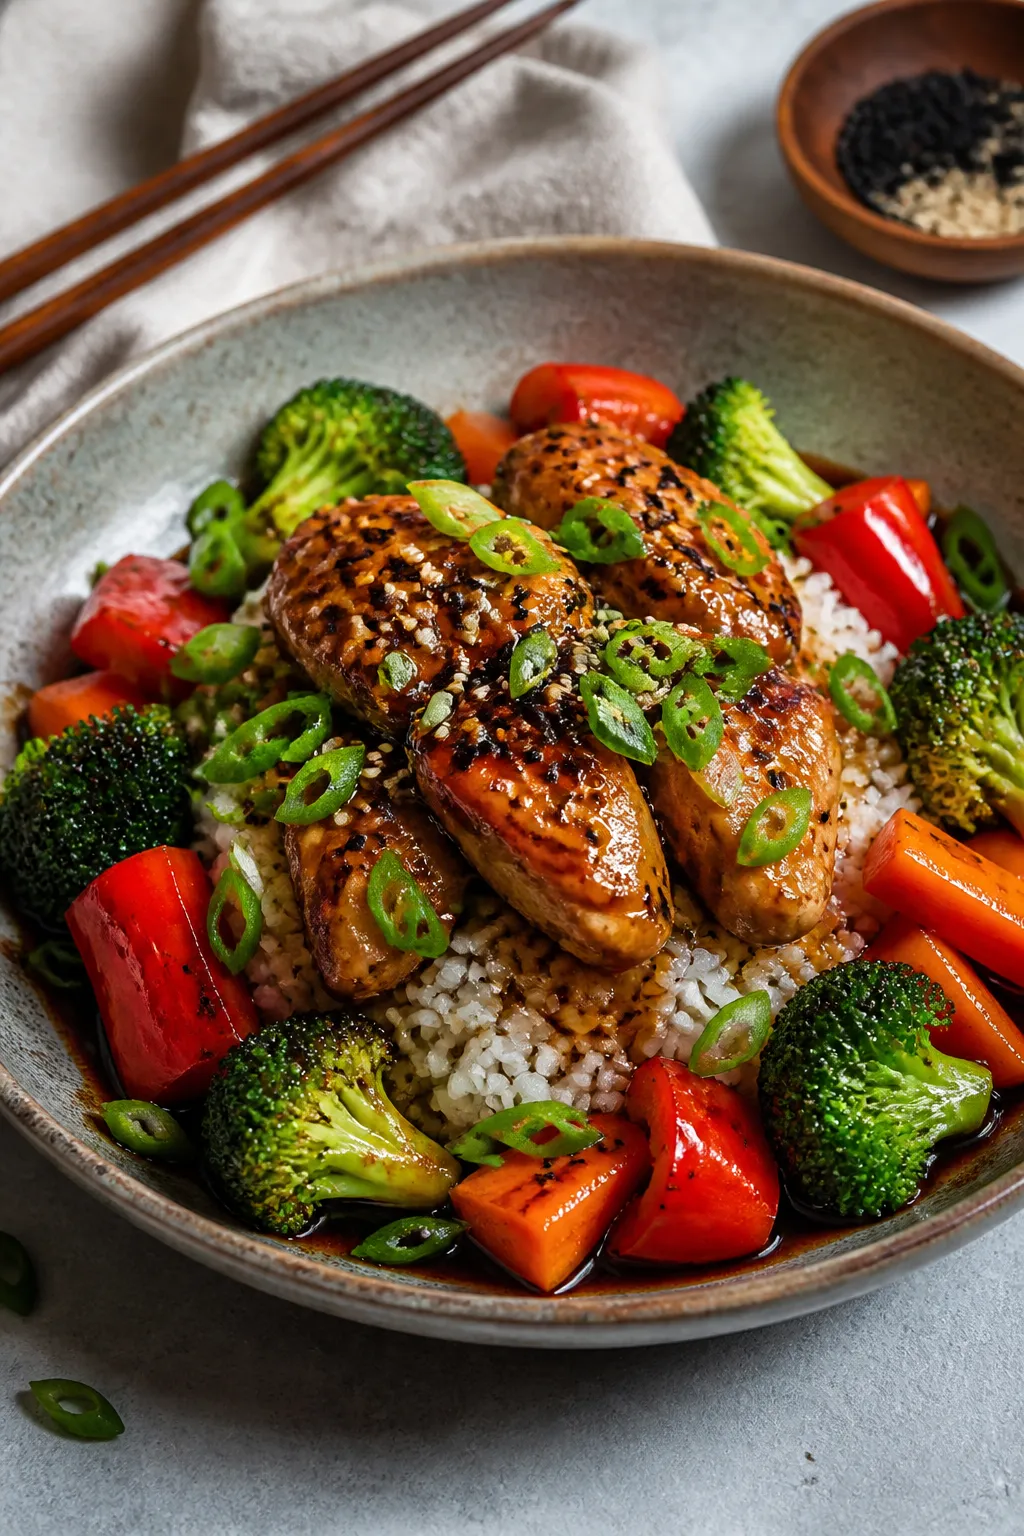
If you’re looking for a simple, satisfying meal prep that doesn’t taste like a compromise, these Teriyaki Chicken Meal Prep Bowls are it. Juicy chicken, glossy homemade sauce, fluffy rice, and crisp-steamed veggies come together in a way that feels fresh even on day four. The sauce is sweet, salty, garlicky, and just thick enough to cling to every bite.
Stop wondering what's for dinner.
Get 7 healthy, family-friendly dinners complete with recipes and simple meal plans delivered straight to your inbox.
It’s budget-friendly, kid-approved, and reheats beautifully. Set aside an hour, and you’ll have a week of lunches ready to go.

Ingredients
Method
- Cook the rice. Rinse your rice until the water runs clear. Cook according to package directions. Fluff and set aside. For extra flavor, add a pinch of salt or a splash of rice vinegar while it steams.
- Make the teriyaki sauce base. In a saucepan, combine soy sauce, water, honey or brown sugar, rice vinegar, ginger, garlic, sesame oil, and optional sriracha. Bring to a gentle simmer over medium heat, stirring to dissolve the sweetener.
- Thicken the sauce. Stir the cornstarch slurry to recombine, then pour it into the simmering sauce while whisking. Cook 1–2 minutes until glossy and thick enough to coat a spoon. Remove from heat. Taste and adjust sweetness or saltiness as needed.
- Prep the vegetables. While the sauce heats, chop broccoli, carrots, bell pepper, and snap peas. Keep pieces bite-size for quick cooking and easy eating.
- Steam or sauté the vegetables. Steam until crisp-tender (bright in color and just fork-prickable), about 3–5 minutes. Or sauté in a little oil over medium-high heat for light char. Season with a pinch of salt. Set aside.
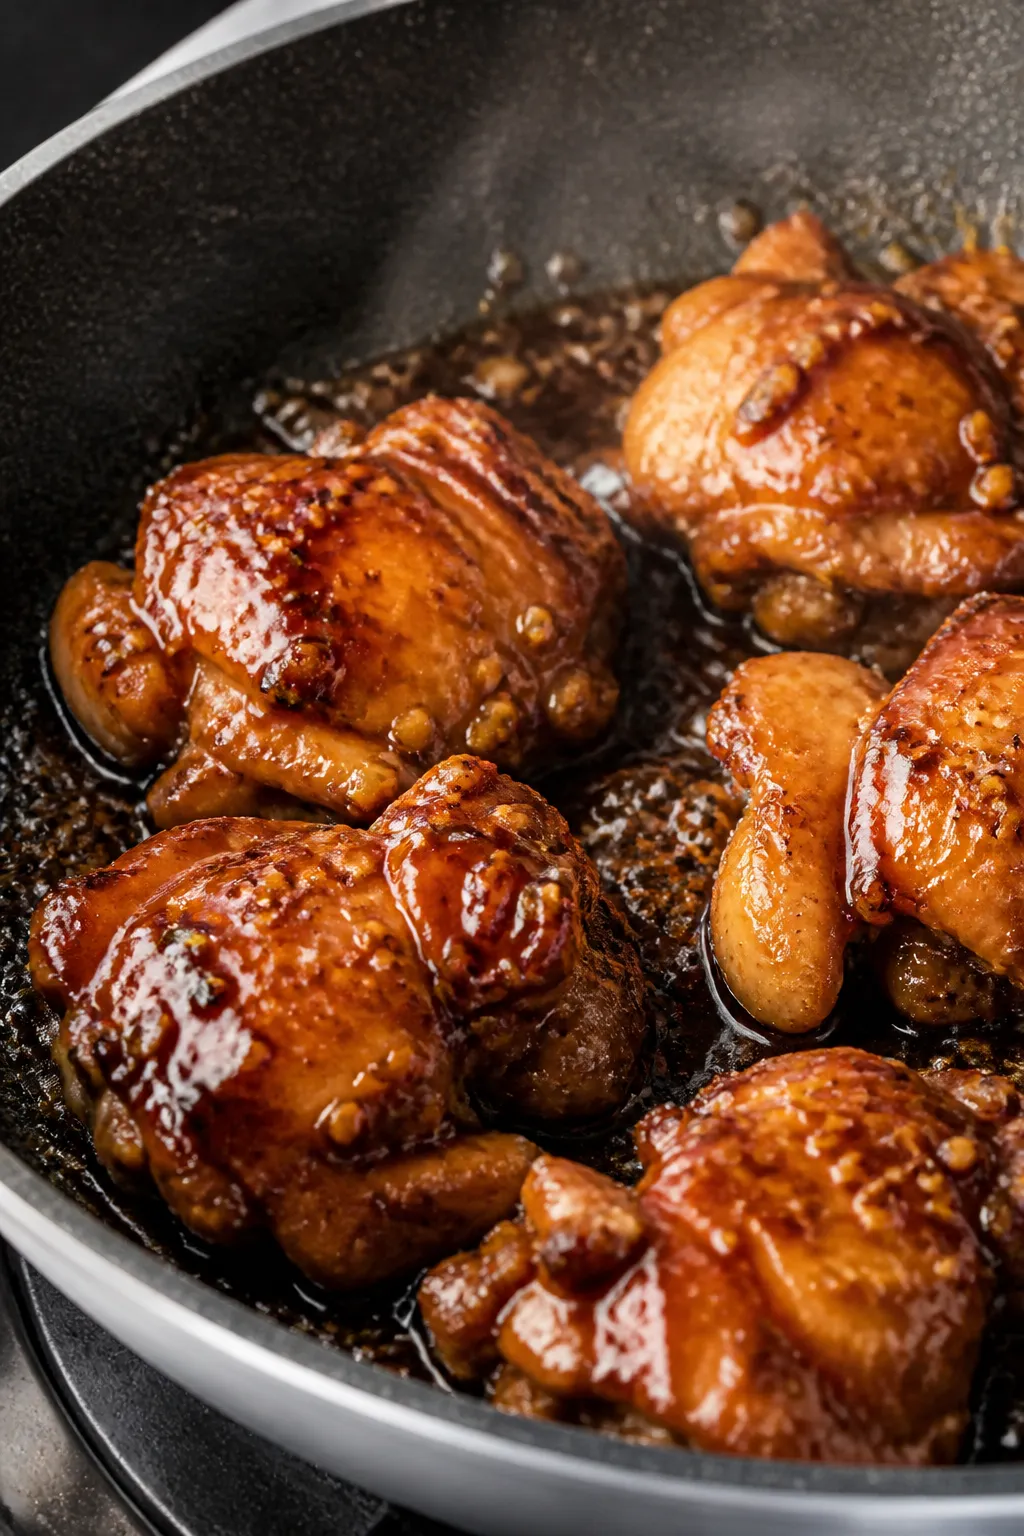
- Sear the chicken. Pat the chicken dry and season lightly with salt and pepper. Heat oil in a large skillet over medium-high. Add chicken in a single layer and cook, undisturbed, 3–4 minutes to get nice color, then flip and cook another 3–4 minutes until just cooked through.
- Sauce the chicken. Pour about half of the teriyaki sauce into the skillet with the chicken. Toss and simmer 1–2 minutes until the chicken is glossy and fully coated. Reserve the remaining sauce for drizzling during assembly.
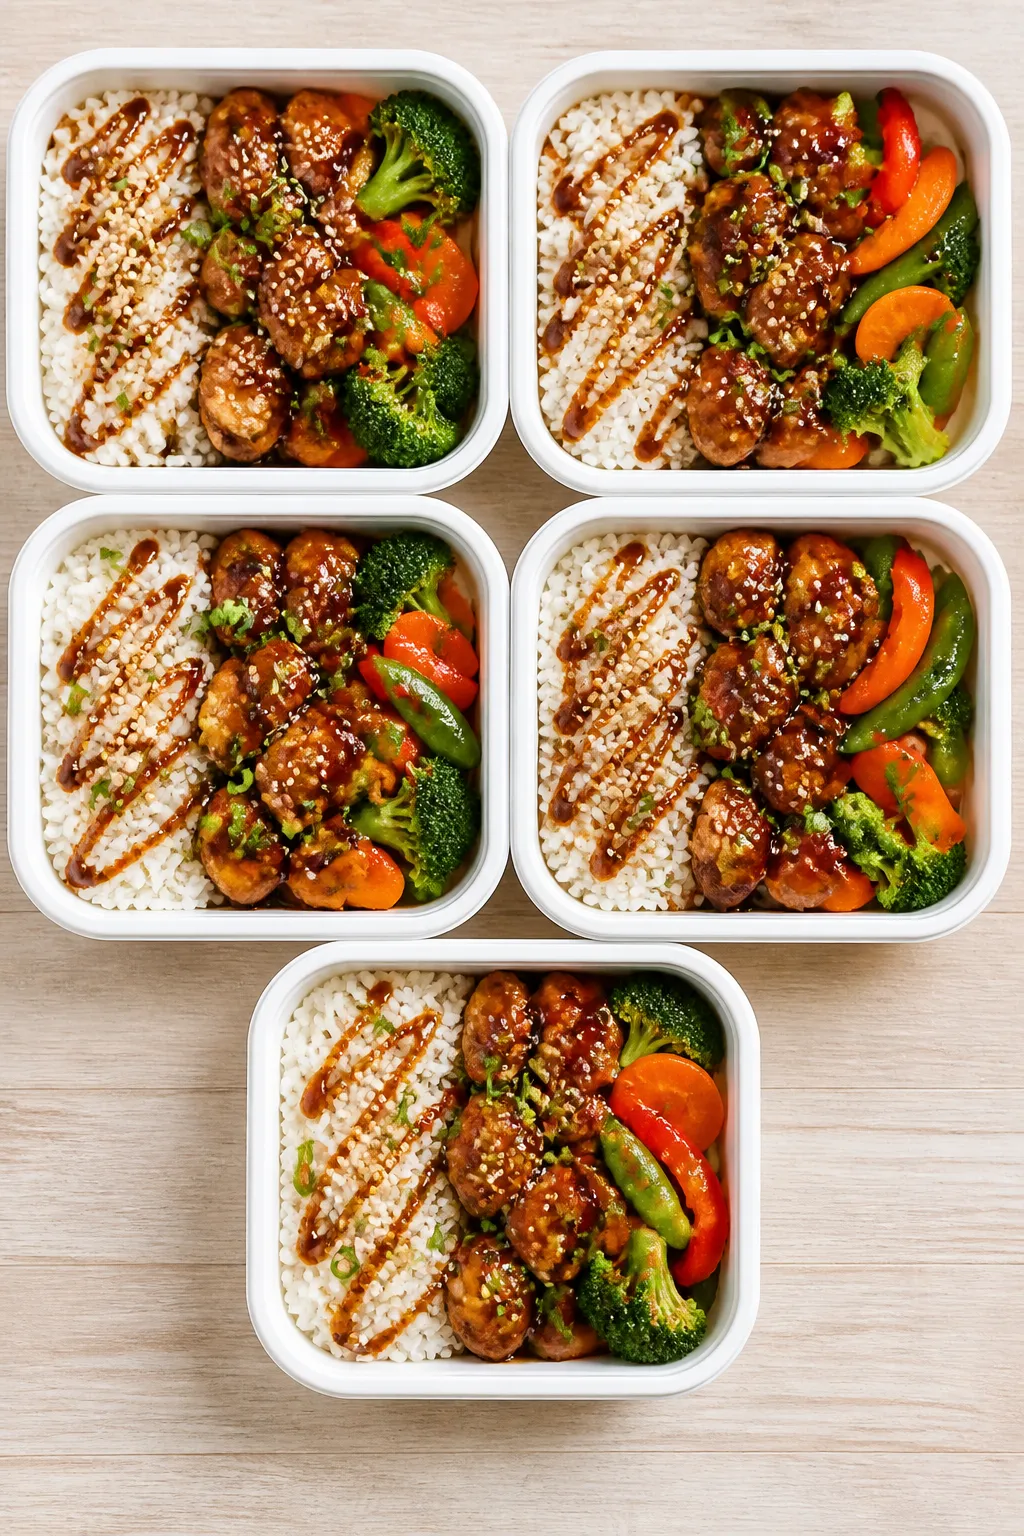
- Assemble the bowls. Divide rice among meal prep containers. Top with equal portions of chicken and vegetables. Spoon extra sauce over each bowl for moisture and flavor.
- Garnish. Add sliced green onions and a sprinkle of sesame seeds. Let bowls cool uncovered for 15–20 minutes before sealing to prevent condensation.
- Seal and store. Once cooled, close containers and refrigerate.
What Makes This Special
There are plenty of teriyaki recipes out there, but this one focuses on bold flavor with minimal fuss. The sauce uses pantry staples and cooks in minutes.
You can make it as sweet or as savory as you like without changing the core technique. The bowls are balanced: protein, carbs, and vegetables in every portion. And the method is flexible—swap in different veggies or grains without altering the base recipe.
What You’ll Need
- Chicken: 2 pounds boneless, skinless chicken thighs (or breasts), cut into bite-size pieces
- Rice: 4 cups cooked rice (jasmine, brown, or cauliflower rice)
- Vegetables: 3 cups broccoli florets, 2 medium carrots (thinly sliced), 1 red bell pepper (sliced), 1 cup snap peas (optional)
- Oil: 1–2 tablespoons neutral oil (avocado, canola, or light olive oil)
- Green onions: 3, thinly sliced (for garnish)
- Sesame seeds: 1–2 teaspoons (optional garnish)
For the teriyaki sauce:
- 1/2 cup low-sodium soy sauce (or tamari for gluten-free)
- 1/2 cup water
- 1/4 cup honey or brown sugar (adjust to taste)
- 2 tablespoons rice vinegar (or 1 tablespoon apple cider vinegar)
- 1 tablespoon fresh grated ginger (or 1 teaspoon ground ginger)
- 3 cloves garlic, minced
- 1 tablespoon toasted sesame oil
- 1–2 teaspoons sriracha or chili-garlic sauce (optional for heat)
- 2 tablespoons cornstarch mixed with 2 tablespoons cold water (slurry)
Equipment:
- Large skillet or wok
- Medium saucepan
- Rice cooker or pot for rice
- Steamer basket or microwave-safe bowl for vegetables
- 5 meal prep containers (3–4 cup capacity, microwave-safe)
Step-by-Step Instructions
- Cook the rice. Rinse your rice until the water runs clear.
Cook according to package directions. Fluff and set aside. For extra flavor, add a pinch of salt or a splash of rice vinegar while it steams.
- Make the teriyaki sauce base. In a saucepan, combine soy sauce, water, honey or brown sugar, rice vinegar, ginger, garlic, sesame oil, and optional sriracha.
Bring to a gentle simmer over medium heat, stirring to dissolve the sweetener.
- Thicken the sauce. Stir the cornstarch slurry to recombine, then pour it into the simmering sauce while whisking. Cook 1–2 minutes until glossy and thick enough to coat a spoon. Remove from heat.
Taste and adjust sweetness or saltiness as needed.
- Prep the vegetables. While the sauce heats, chop broccoli, carrots, bell pepper, and snap peas. Keep pieces bite-size for quick cooking and easy eating.
- Steam or sauté the vegetables. Steam until crisp-tender (bright in color and just fork-prickable), about 3–5 minutes. Or sauté in a little oil over medium-high heat for light char.
Season with a pinch of salt. Set aside.
- Sear the chicken. Pat the chicken dry and season lightly with salt and pepper. Heat oil in a large skillet over medium-high.
Add chicken in a single layer and cook, undisturbed, 3–4 minutes to get nice color, then flip and cook another 3–4 minutes until just cooked through.
- Sauce the chicken. Pour about half of the teriyaki sauce into the skillet with the chicken. Toss and simmer 1–2 minutes until the chicken is glossy and fully coated. Reserve the remaining sauce for drizzling during assembly.
- Assemble the bowls. Divide rice among meal prep containers.
Top with equal portions of chicken and vegetables. Spoon extra sauce over each bowl for moisture and flavor.
- Garnish. Add sliced green onions and a sprinkle of sesame seeds. Let bowls cool uncovered for 15–20 minutes before sealing to prevent condensation.
- Seal and store. Once cooled, close containers and refrigerate.
Storage Instructions
- Refrigerator: Store up to 4 days in airtight containers.
- Freezer: Freeze up to 2 months.
Use freezer-safe containers and leave a little headspace. Thaw overnight in the fridge.
- Reheating: Microwave 1:30–3:00 minutes, stirring halfway. Add a splash of water if the rice seems dry.
If frozen, thaw first for even heating.
- Sauce on the side: If you prefer crisper veggies, keep some sauce separate and add after reheating.
Benefits of This Recipe
- Balanced nutrition: Protein from chicken, fiber and complex carbs from rice and veggies, and healthy fats from sesame oil.
- Budget-friendly: Uses affordable ingredients and stretches into multiple meals.
- Customizable: Adjust sweetness, heat, and veggie mix based on preference.
- Great for beginners: Straightforward steps with forgiving cook times.
- Family-friendly flavors: Mild enough for kids, easy to spice up for adults.
Common Mistakes to Avoid
- Overcrowding the pan: Crowding steams the chicken and prevents browning. Cook in batches if needed.
- Overcooking the veggies: Soft, dull veggies lose appeal. Pull them when they’re crisp-tender and vibrant.
- Watery sauce: If the sauce doesn’t thicken, simmer another minute after adding the slurry.
Use cold water for the slurry to prevent clumping.
- Not cooling before sealing: Trapped steam creates soggy rice and veggies. Let bowls cool briefly before closing.
- Too salty: Use low-sodium soy sauce and taste before seasoning the chicken. You can always add salt, not subtract it.
Alternatives
- Protein swaps: Use tofu (pressed and pan-seared), shrimp (quick-cooking), or thinly sliced beef.
For tofu, toss in cornstarch before searing for crispy edges.
- Grain options: Try brown rice, quinoa, farro, or cauliflower rice for lower carbs. Adjust cooking times accordingly.
- Veggie variations: Green beans, zucchini, mushrooms, cabbage, or edamame all work well. Stick to 3–4 cups total vegetables.
- Sweetener choices: Honey, brown sugar, maple syrup, or coconut sugar are all fine.
Start with less and add to taste.
- Gluten-free: Use tamari or coconut aminos and check labels on vinegar and sriracha.
- No cornstarch: Use arrowroot powder or reduce the sauce longer for a natural thickness.
FAQ
Can I bake the chicken instead of pan-searing?
Save time, eat healthier, and take the stress out of dinner.
Get a full week of easy healthy dinners delivered straight to your inbox.
Yes. Toss the chicken with a little oil, salt, and pepper. Bake at 425°F (220°C) for 12–16 minutes, flipping once, until cooked through.
Warm the sauce separately and toss the baked chicken in the sauce before assembling.
How do I keep the rice from drying out when reheating?
Add a teaspoon or two of water over the rice before microwaving. Cover loosely and heat in short bursts, stirring once to distribute moisture.
Is the sauce okay to make ahead?
Absolutely. Make it up to a week in advance and store in the fridge.
It will thicken slightly when cold; warm it gently to loosen.
Can I reduce the sugar without ruining the flavor?
Yes. Start with half the called-for sweetener and adjust at the end. A touch of honey or sugar balances the saltiness, but it doesn’t need to be overly sweet.
What if I don’t have fresh ginger?
Use 1 teaspoon ground ginger.
The flavor is a bit different but still tasty and aromatic.
How many servings does this make?
It makes about 5 bowls, depending on how you divide the rice and vegetables. For larger portions, plan for 4 bowls.
Can I use pre-cut vegetables or frozen veggies?
Yes. Pre-cut makes prep faster, and frozen vegetables work well.
Steam or sauté frozen veggies just until heated through to avoid mushiness.
How spicy is this recipe?
It’s mild unless you add sriracha or chili-garlic sauce. Start small and adjust to your heat preference.
What’s the best container size for these bowls?
Containers that hold 3–4 cups are ideal. They keep portions balanced and prevent overcrowding, which helps reheating.
Can I make this dairy-free and nut-free?
Yes.
The base recipe is naturally dairy-free and nut-free. Just check packaged ingredients to be sure.
Final Thoughts
These Teriyaki Chicken Meal Prep Bowls make weekday eating easy without feeling repetitive or heavy. The glossy sauce, tender chicken, and crisp veggies hold up well in the fridge and taste just as good on day four as they do on day one.
Use the framework, then make it your own with different proteins, grains, and vegetables. With a few pantry staples and about an hour, you’ll have a stack of meals you’ll actually look forward to eating.
Printable Recipe Card
Want just the essential recipe details without scrolling through the article? Get our printable recipe card with just the ingredients and instructions.
Loved This Recipe?
If you're looking for more simple, healthy dinners your family will actually eat, grab my FREE 7-Day Easy Dinner Reset. You'll get 7 easy dinner recipes, simple grocery lists, and a done-for-you plan that takes the stress out of mealtime.