High Protein Crispy Baked Chicken Thighs – Easy, Flavorful, and Satisfying
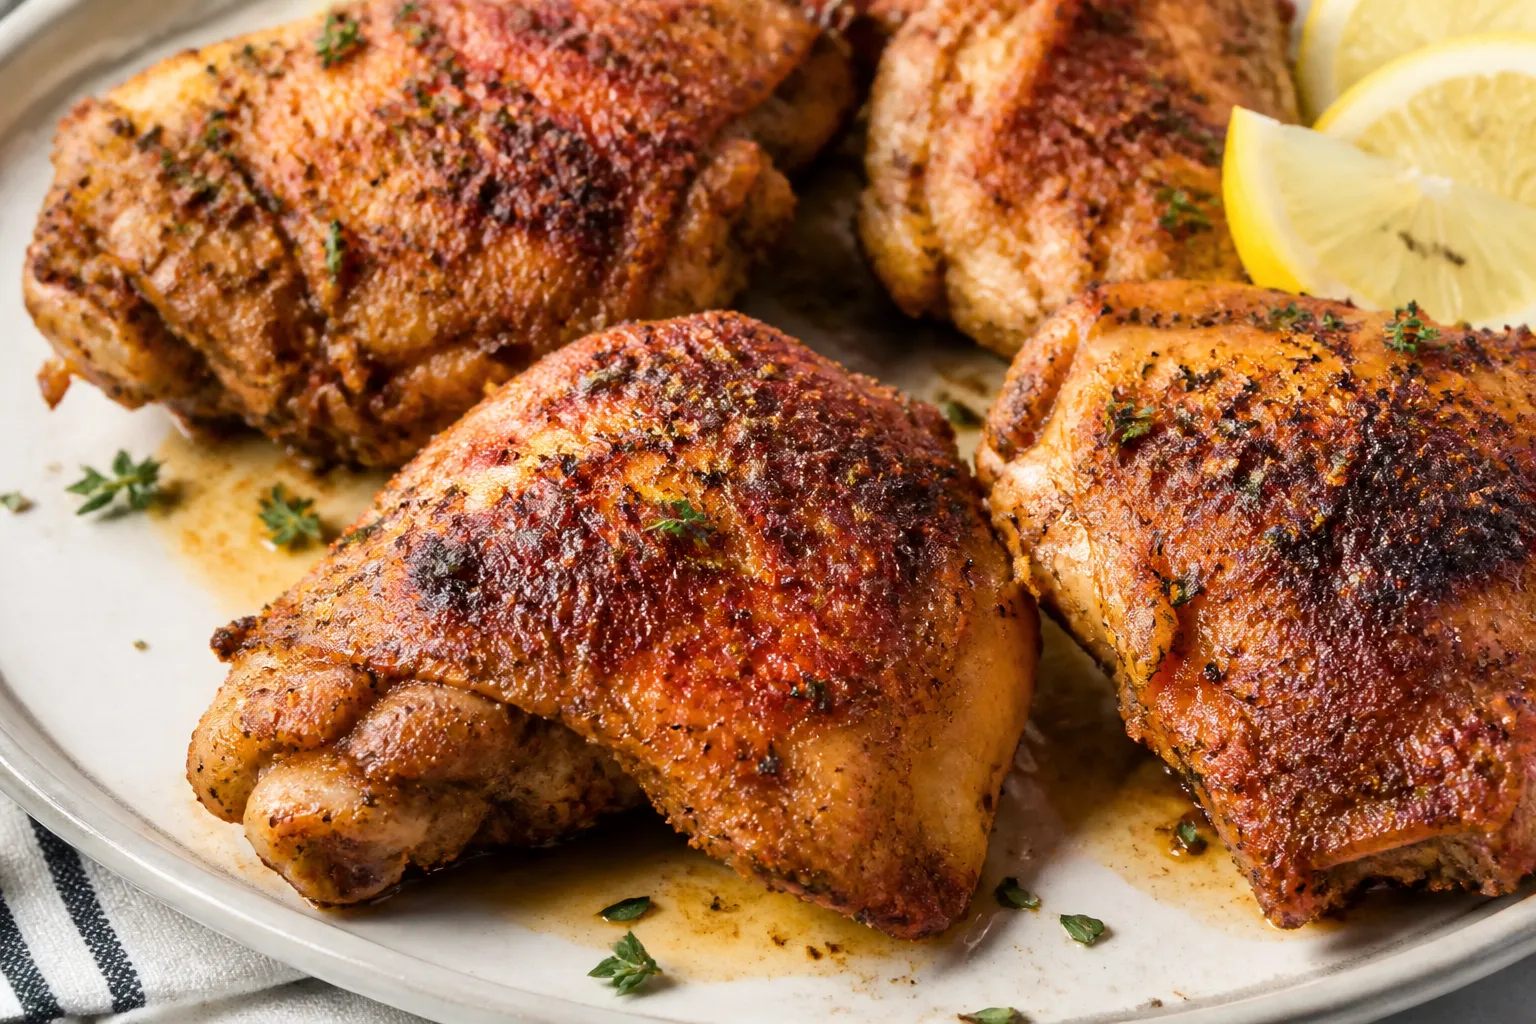
These crispy baked chicken thighs hit all the marks: juicy on the inside, shatteringly crisp on the outside, and packed with protein. You don’t need fancy techniques or special equipment—just a hot oven and a few pantry staples. The result is weeknight-friendly and good enough for company.
Stop wondering what's for dinner.
Get 7 healthy, family-friendly dinners complete with recipes and simple meal plans delivered straight to your inbox.
They pair with almost anything, from roasted veggies to simple salads. If you’re after big flavor with minimal effort, this is your new go-to.
Ingredients
Method
- Pat the chicken very dry: Use paper towels to blot the thighs thoroughly, especially the skin. Dry skin is key for crisping.
- Dry brine (recommended): Sprinkle thighs with 1.5–2 teaspoons kosher salt total. Set on a rack over a sheet pan and refrigerate uncovered for 1–12 hours. If you’re short on time, at least 30 minutes helps.
- Preheat the oven: Heat to 425°F (220°C). Place a rimmed baking sheet on the middle rack to preheat with the oven. A hot pan starts the crisping immediately.
- Mix the seasoning: In a small bowl, combine 1 teaspoon black pepper, 1 teaspoon garlic powder, 1 teaspoon onion powder, 1.5 teaspoons paprika, and 1 teaspoon baking powder. Add 1–2 teaspoons dried herbs if using.
- Season the thighs: Drizzle 1–2 tablespoons oil over the chicken. Sprinkle the seasoning blend evenly on both sides, with a little extra attention to the skin.
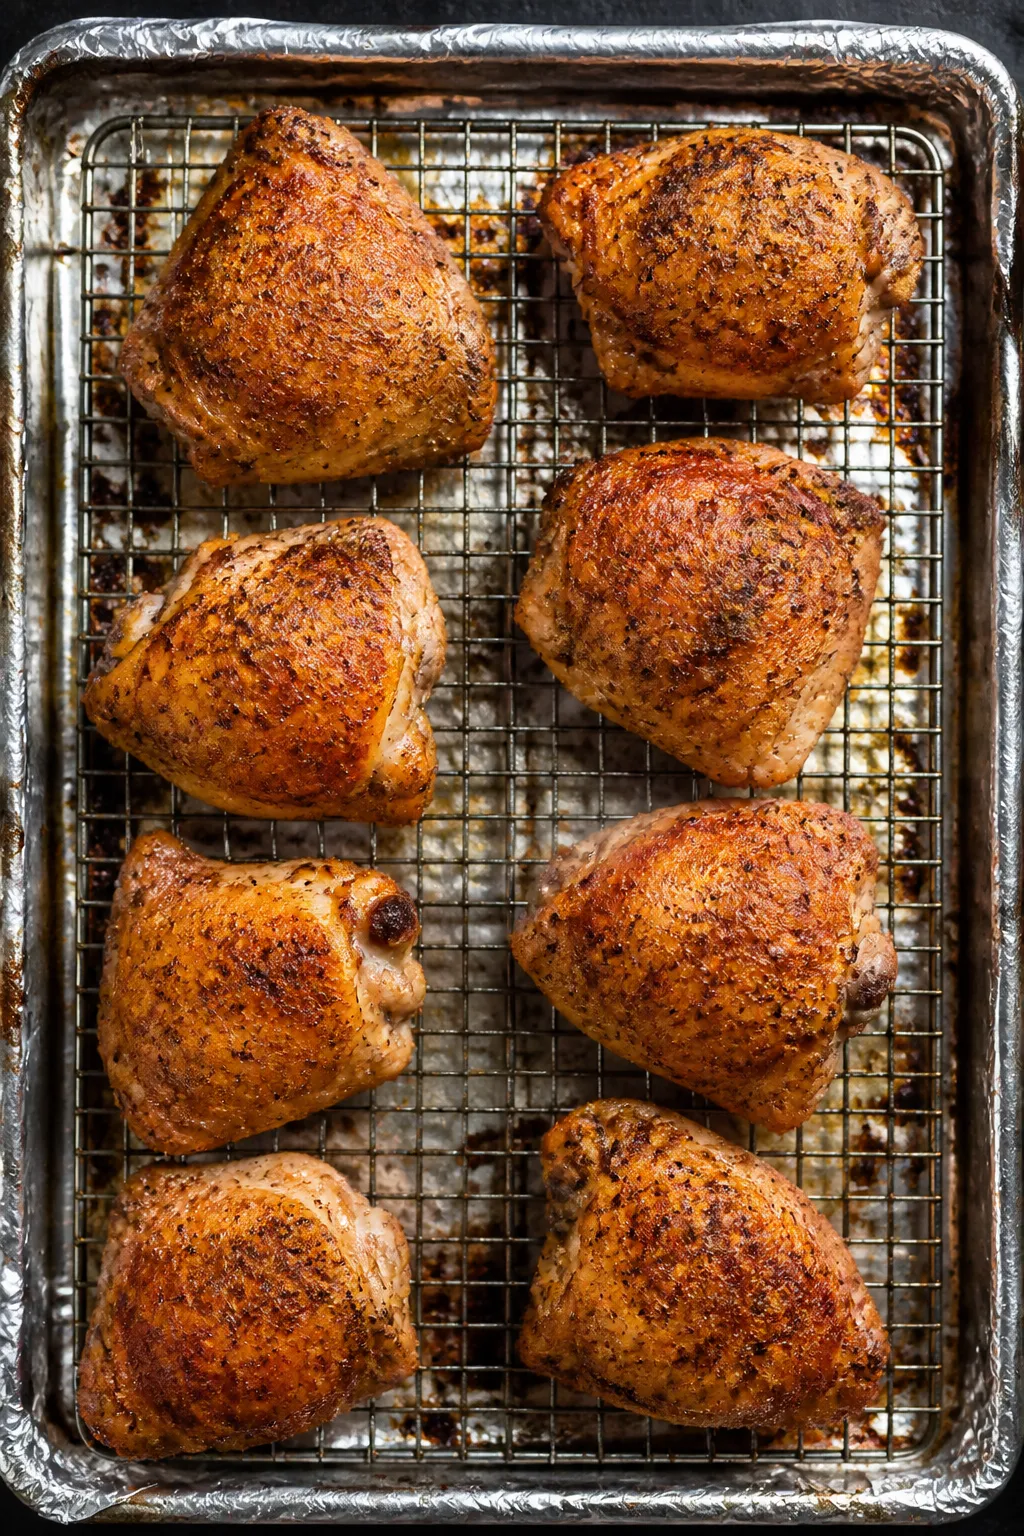
- Arrange skin-side up: Carefully remove the hot baking sheet. Line with foil or parchment if you like, then set a wire rack on top if you have one. Place the thighs skin-side up, spaced apart so air can circulate.
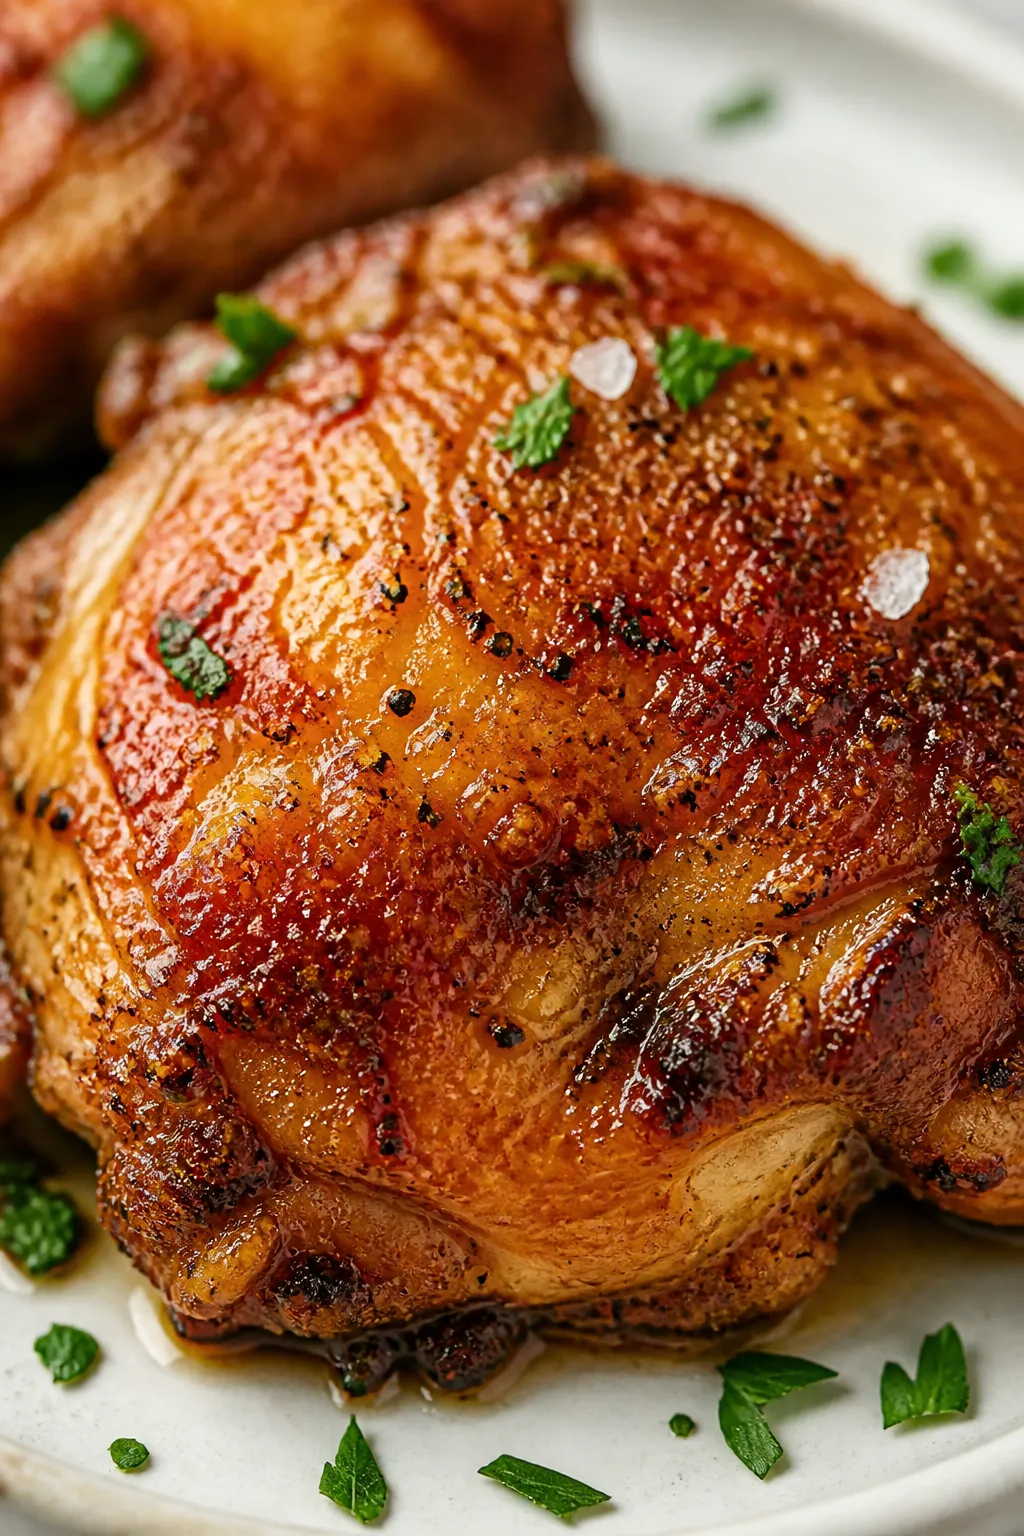
- Bake until crisp and done: Roast for 35–45 minutes, depending on size. The skin should be deep golden and the internal temperature should reach 175–195°F when checked in the thickest part without touching bone. Thighs shine at higher temps than breasts and stay juicy.
- Optional broil for extra crunch: If needed, broil for 1–3 minutes at the end. Watch closely to avoid burning.
- Rest briefly: Let the chicken sit for 5 minutes. This keeps juices where they belong and the skin crisp.
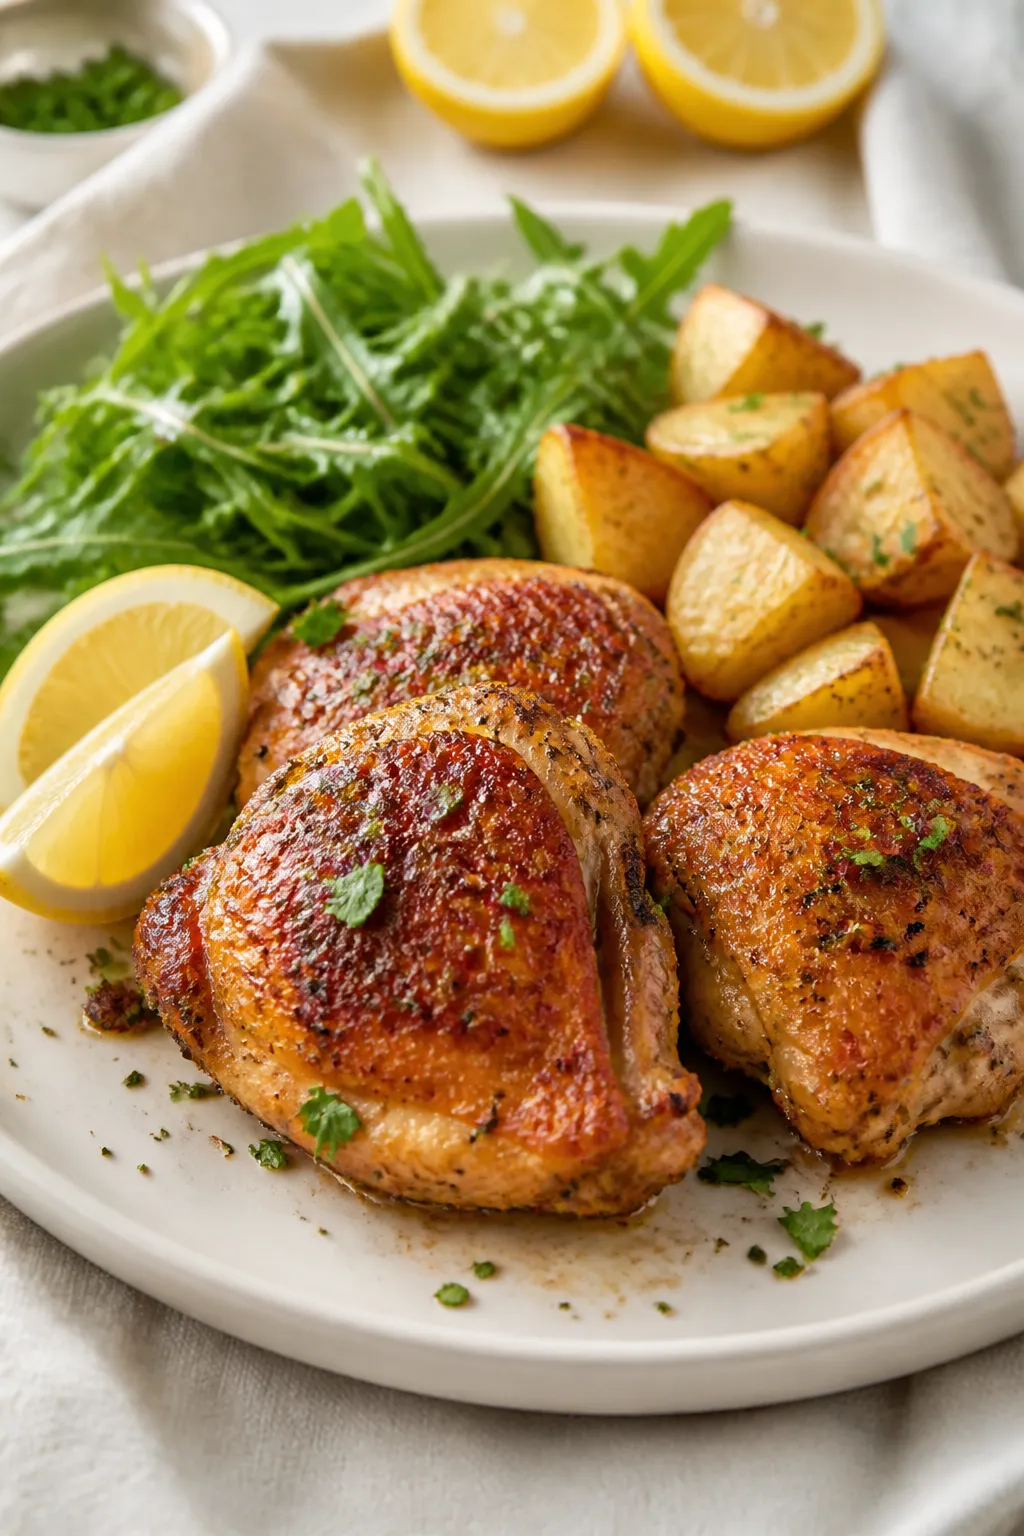
- Finish and serve: Squeeze with lemon, crack on a little extra black pepper, and sprinkle chopped parsley if you like. Serve with a simple salad, roasted potatoes, or steamed greens.
What Makes This Recipe So Good
- High protein, low hassle: Bone-in, skin-on chicken thighs deliver a great protein punch with almost no prep time.
- Ultra-crispy skin without frying: A hot oven and a quick dry brine make the skin crackly and golden.
- Juicy every time: Thighs are forgiving and stay moist even if you cook them a touch longer.
- Pantry-friendly seasoning: Simple spices create a savory crust that tastes like you worked harder than you did.
- Meal-prep friendly: Reheats well and keeps its texture better than many chicken recipes.
Shopping List
- Chicken thighs: 6–8 bone-in, skin-on thighs (about 2.5–3 pounds total)
- Kosher salt
- Black pepper
- Garlic powder
- Onion powder
- Paprika (sweet or smoked)
- Baking powder (aluminum-free, for extra-crispy skin)
- Olive oil or avocado oil
- Optional add-ins: Dried thyme, dried oregano, chili powder, lemon wedges, chopped parsley for serving
Step-by-Step Instructions
- Pat the chicken very dry: Use paper towels to blot the thighs thoroughly, especially the skin. Dry skin is key for crisping.
- Dry brine (recommended): Sprinkle thighs with 1.5–2 teaspoons kosher salt total.
Set on a rack over a sheet pan and refrigerate uncovered for 1–12 hours. If you’re short on time, at least 30 minutes helps.
- Preheat the oven: Heat to 425°F (220°C). Place a rimmed baking sheet on the middle rack to preheat with the oven.
A hot pan starts the crisping immediately.
- Mix the seasoning: In a small bowl, combine 1 teaspoon black pepper, 1 teaspoon garlic powder, 1 teaspoon onion powder, 1.5 teaspoons paprika, and 1 teaspoon baking powder. Add 1–2 teaspoons dried herbs if using.
- Season the thighs: Drizzle 1–2 tablespoons oil over the chicken. Sprinkle the seasoning blend evenly on both sides, with a little extra attention to the skin.
- Arrange skin-side up: Carefully remove the hot baking sheet.
Line with foil or parchment if you like, then set a wire rack on top if you have one. Place the thighs skin-side up, spaced apart so air can circulate.
- Bake until crisp and done: Roast for 35–45 minutes, depending on size. The skin should be deep golden and the internal temperature should reach 175–195°F when checked in the thickest part without touching bone.
Thighs shine at higher temps than breasts and stay juicy.
- Optional broil for extra crunch: If needed, broil for 1–3 minutes at the end. Watch closely to avoid burning.
- Rest briefly: Let the chicken sit for 5 minutes. This keeps juices where they belong and the skin crisp.
- Finish and serve: Squeeze with lemon, crack on a little extra black pepper, and sprinkle chopped parsley if you like.
Serve with a simple salad, roasted potatoes, or steamed greens.
Storage Instructions
- Refrigerate: Cool completely, then store in an airtight container for up to 4 days.
- Freeze: Wrap tightly and freeze for up to 3 months. Thaw overnight in the fridge.
- Reheat: For best crispness, reheat at 375°F on a rack for 10–15 minutes, or air fry at 360°F for 6–8 minutes. Microwaving works but softens the skin.
Benefits of This Recipe
- Protein-forward: Each thigh delivers a hefty serving of protein to keep you full and fueled.
- Budget-conscious: Thighs are affordable and often taste better than pricier cuts.
- Balanced fats: The natural fat in chicken thighs helps with satiety and mouthfeel.
You don’t need much added oil.
- Simple ingredients, big flavor: You’ll likely have everything on hand, and the baking powder trick makes a real difference.
- Flexible pairings: Works with grain bowls, veggie sides, or low-carb plates. Great hot or cold.
What Not to Do
- Don’t skip drying the skin: Excess moisture prevents browning and crisping.
- Don’t crowd the pan: Crowding traps steam and softens the skin. Use two pans if needed.
- Don’t pull at 165°F: Unlike breasts, thighs benefit from 175–195°F for tenderness and flavor.
- Don’t rely only on time: Ovens vary.
Use an instant-read thermometer and your eyes—look for deep golden color.
- Don’t sauce too early: If adding a glaze, brush it on in the last 5 minutes, or serve on the side. Early saucing softens the crust.
Alternatives
- Boneless, skinless thighs: Reduce baking time to 18–25 minutes at 425°F. They won’t get crispy without skin, but still taste great.
- Air fryer method: Cook at 380°F for 20–25 minutes, flipping once, then 400°F for 3–5 minutes to finish crisping.
- Different seasonings: Try lemon pepper, Cajun seasoning, za’atar, or a BBQ rub.
Keep salt balanced to avoid over-seasoning.
- Lower sodium: Cut kosher salt by one-third and boost flavor with extra garlic powder, paprika, and lemon zest.
- Glaze options: Brush with hot honey, buffalo sauce, or a mix of Dijon and maple in the last few minutes.
- Skinless high-protein route: For less fat, use skinless thighs, pat dry, and broil briefly at the end for color. Texture differs but protein stays high.
FAQ
Why use baking powder on chicken skin?
Save time, eat healthier, and take the stress out of dinner.
Get a full week of easy healthy dinners delivered straight to your inbox.
It raises the skin’s pH and helps draw out moisture, encouraging browning and crisping. Use aluminum-free baking powder to avoid any off taste, and don’t confuse it with baking soda.
Can I use chicken breasts instead?
You can, but the method needs tweaking.
Roast at 425°F for 18–25 minutes until 160–165°F, then rest. Breasts won’t get the same crispy skin without the fat, and they dry out faster.
How do I know when thighs are done?
Aim for an internal temperature of 175–195°F, measured at the thickest part away from the bone. The juices should run clear, and the skin should be deep golden and crisp.
Do I need a wire rack?
No, but it helps.
A rack allows hot air to circulate under the chicken, which improves crispness. If you don’t have one, preheat the pan well and avoid overcrowding.
Is this recipe spicy?
Not inherently. The base seasoning is savory with a mild smoky note if you use smoked paprika.
Add chili powder or cayenne if you like heat.
What sides go best with crispy thighs?
Roasted broccoli, green beans, or Brussels sprouts are easy wins. Mashed or roasted potatoes, coleslaw, simple rice, or a lemony arugula salad also pair nicely.
Can I meal prep this?
Absolutely. Cook a batch, chill quickly, and store for up to 4 days.
Reheat in the oven or air fryer to bring back the crisp skin.
How much protein is in a serving?
On average, a bone-in chicken thigh offers roughly 20–25 grams of protein, depending on size. Two thighs make a solid high-protein meal.
In Conclusion
Crispy baked chicken thighs are the kind of recipe you’ll make once and then keep on repeat. They’re simple, reliable, and big on flavor without extra work.
With a few small tricks—dry brine, baking powder, and a hot pan—you get restaurant-level results at home. Serve them with easy sides, pack them for lunch, and enjoy a high-protein staple that never gets old.
Printable Recipe Card
Want just the essential recipe details without scrolling through the article? Get our printable recipe card with just the ingredients and instructions.
Loved This Recipe?
If you're looking for more simple, healthy dinners your family will actually eat, grab my FREE 7-Day Easy Dinner Reset. You'll get 7 easy dinner recipes, simple grocery lists, and a done-for-you plan that takes the stress out of mealtime.