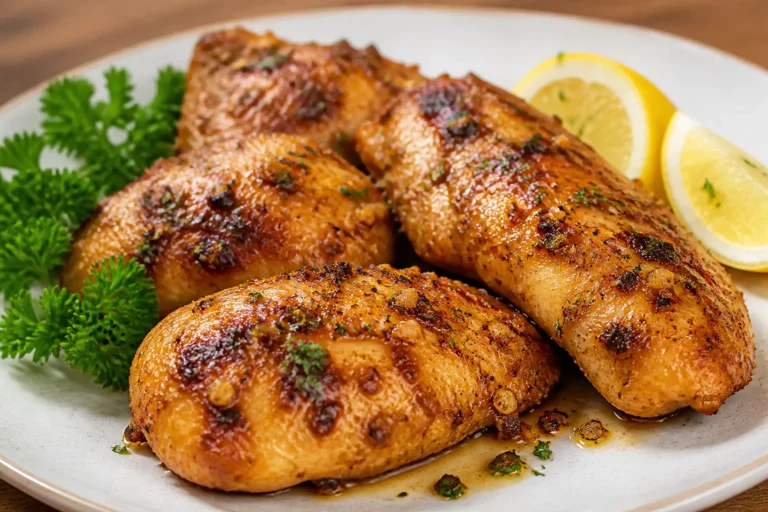
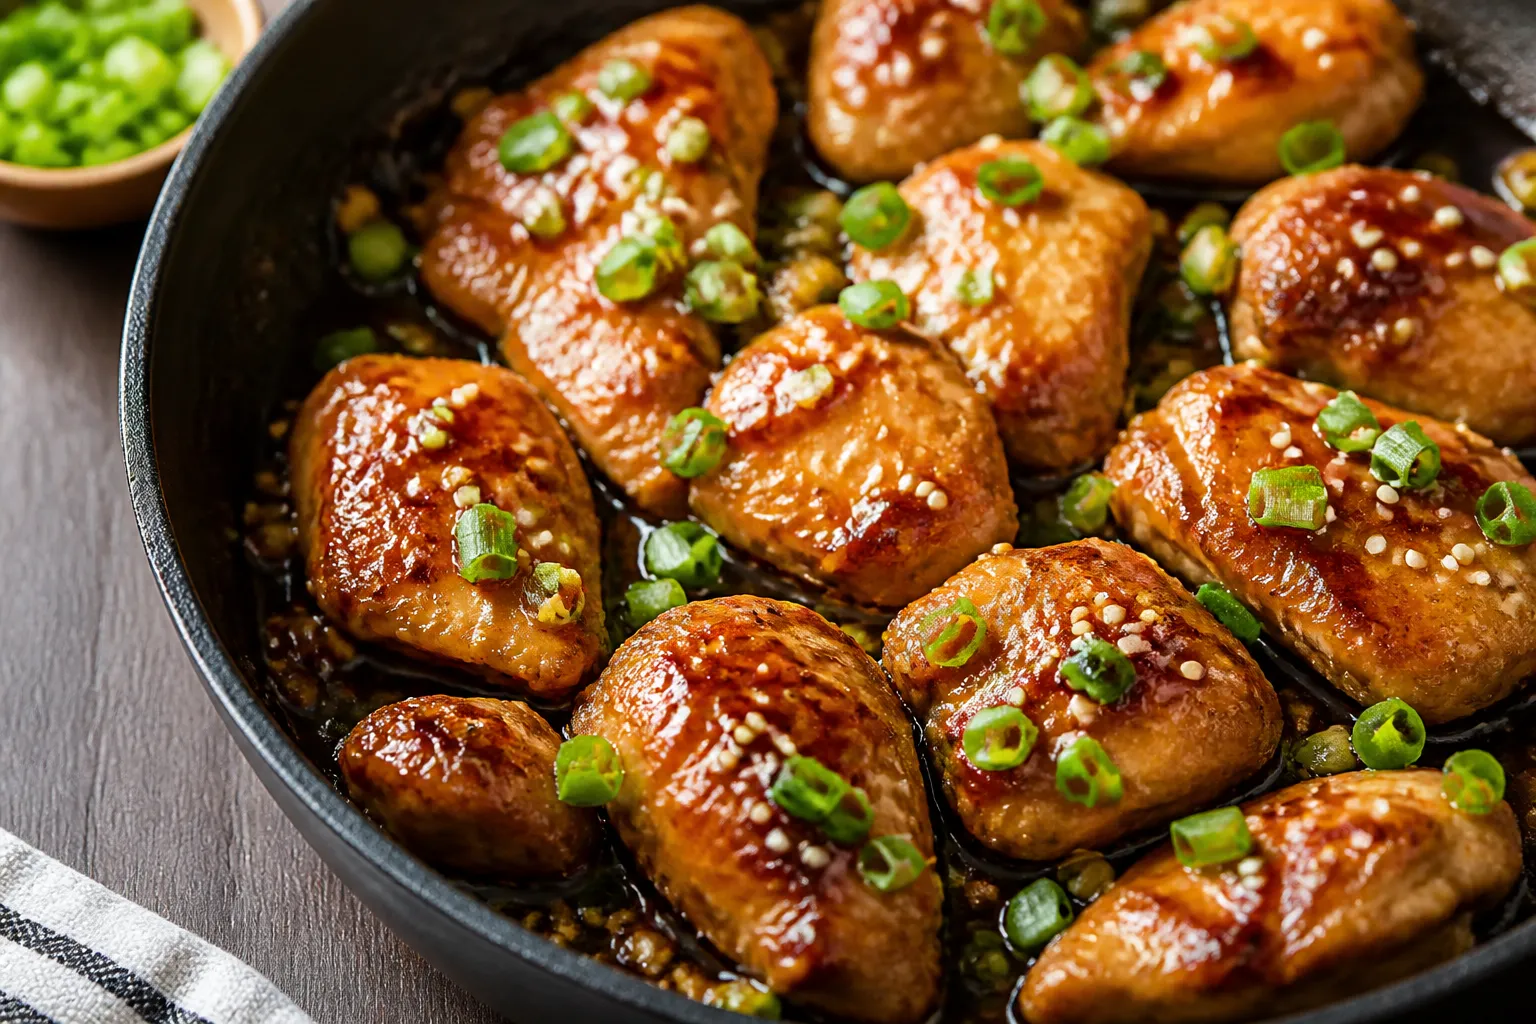
One Pan Honey Garlic Chicken – A Fast, Flavorful Weeknight Dinner
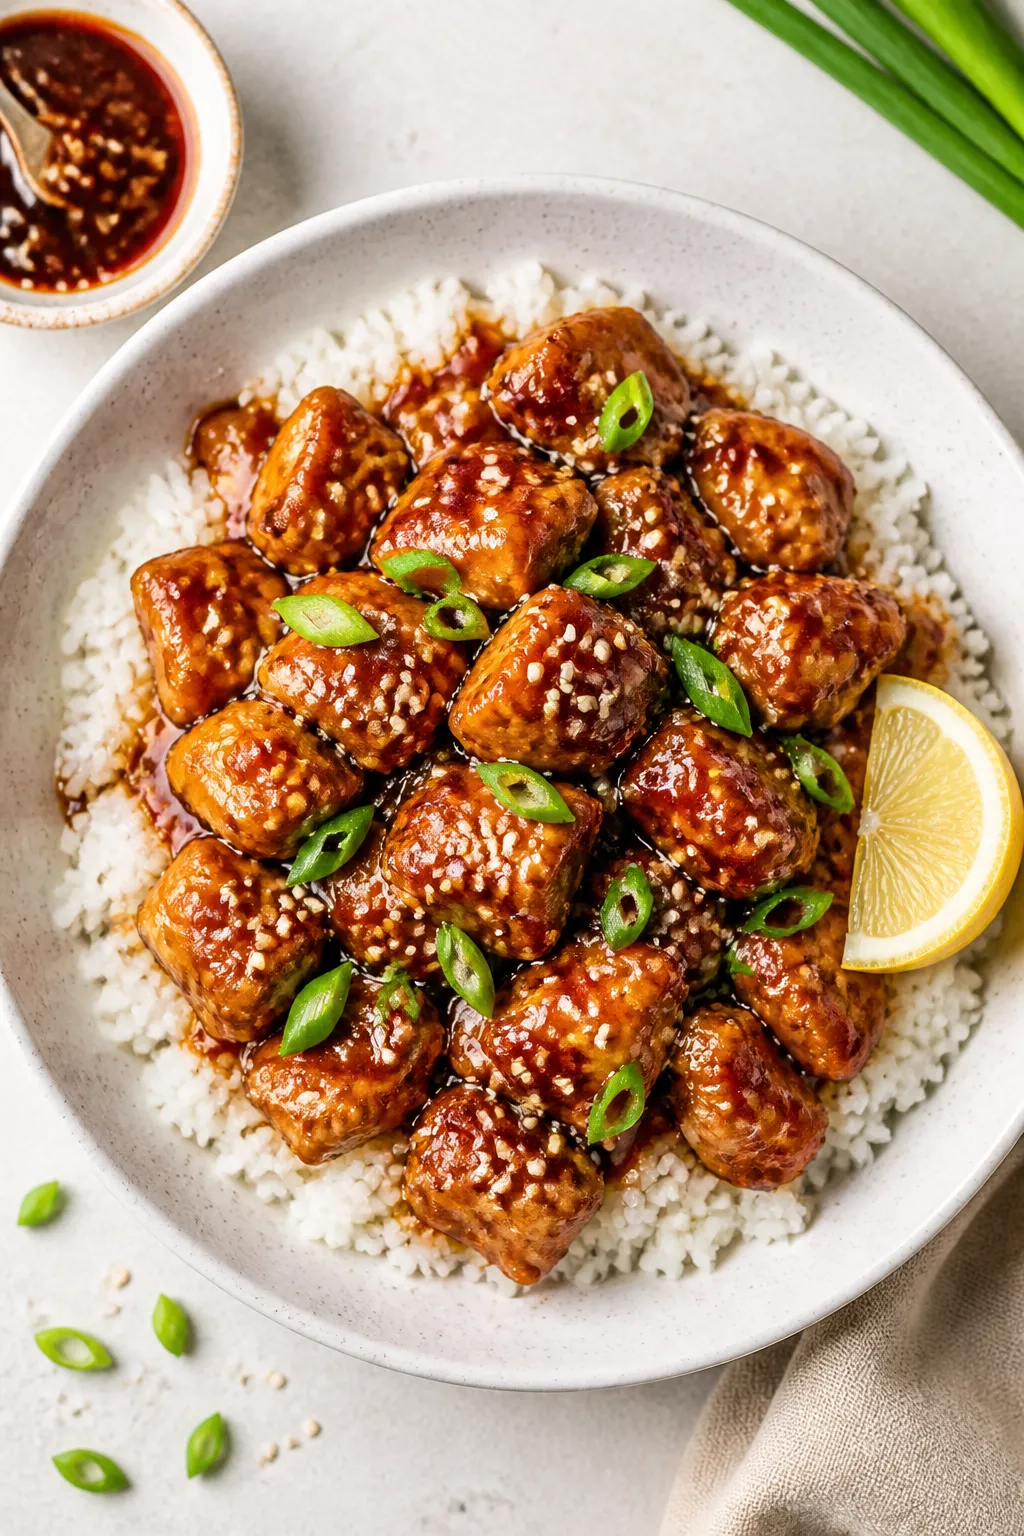
Crispy, juicy chicken coated in a sticky honey garlic sauce hits that perfect balance of sweet, savory, and a little tangy. This one pan version keeps the mess minimal and the flavor big, so you can get dinner on the table without juggling a sink full of dishes. It’s the kind of meal that feels special but doesn’t ask much from you.
Stop wondering what's for dinner.
Get 7 healthy, family-friendly dinners complete with recipes and simple meal plans delivered straight to your inbox.
If you’ve got chicken, garlic, honey, and a skillet, you’re halfway there. Serve it with rice, potatoes, or a quick salad, and you’ve got a crowd-pleasing dinner any night of the week.
Ingredients
Method
- Prep the chicken: Pat the chicken dry with paper towels. Season both sides with salt and black pepper. Dry chicken sears better and browns more evenly.
- Heat the pan: Set a large skillet over medium-high heat. Add the olive oil and butter. When the butter foams and just starts to brown, it’s hot enough.
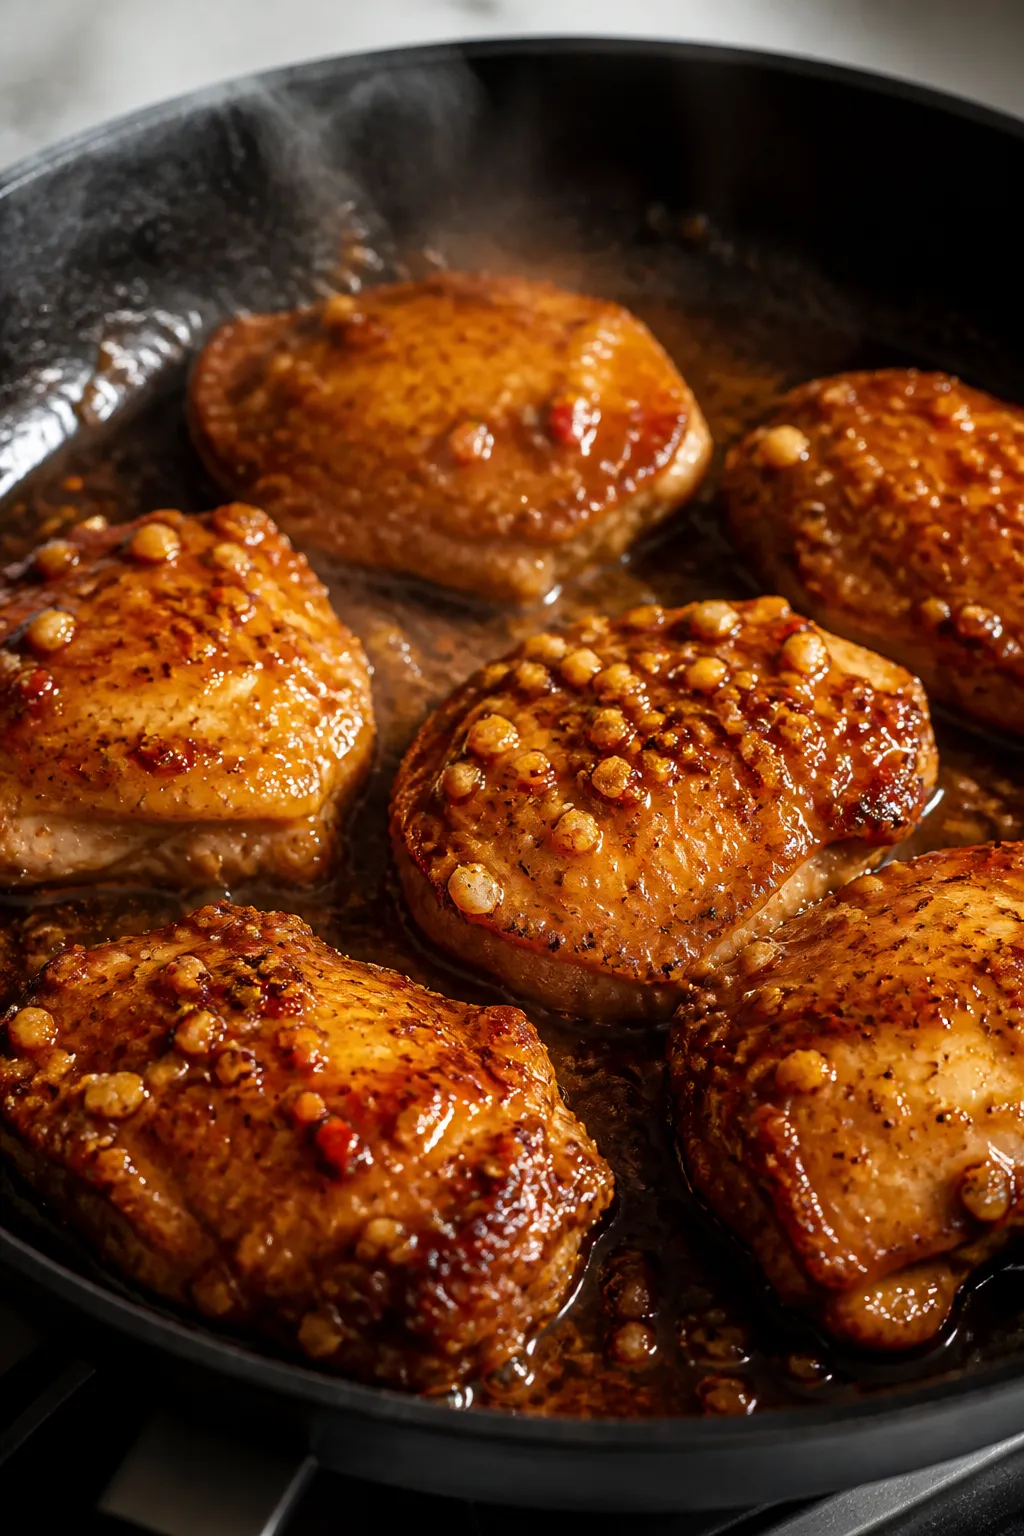
- Sear the chicken: Place chicken in a single layer. Don’t overcrowd. Sear 4–5 minutes per side for thighs (3–4 minutes for thin breasts) until golden. Transfer to a plate; it will finish cooking in the sauce.
- Sauté the garlic: Reduce heat to medium. If the pan looks dry, add a drizzle of oil. Add minced garlic and cook 30–45 seconds until fragrant. Don’t let it brown too much or it will taste bitter.
- Make the sauce: Stir in honey, soy sauce, and vinegar. Add crushed red pepper if using. For a saucier dish, add chicken broth now. Scrape up any browned bits; that’s flavor.
- Simmer and thicken: Return chicken to the pan and spoon sauce over the top. Simmer 4–6 minutes, turning once, until chicken is cooked through (internal temp 165°F/74°C). If you want a thicker glaze, stir in the cornstarch slurry and simmer 1–2 more minutes until glossy.
- Finish: Off the heat, stir in toasted sesame oil if you like. Taste and adjust with salt, pepper, or a squeeze of lemon for brightness.
- Garnish and serve: Top with sliced green onions and sesame seeds. Serve over rice, with roasted veggies, or alongside a crisp salad.
What Makes This Special
- One pan, minimal cleanup: Everything cooks in a single skillet, from searing the chicken to simmering the sauce.
- Balanced flavor: The sauce blends honey, soy, garlic, and a splash of vinegar for a glossy glaze that clings to every bite.
- Quick and reliable: Ready in about 30 minutes with simple steps and everyday ingredients.
- Versatile: Works with thighs, breasts, or even bone-in pieces with a small timing adjustment.
- Meal-prep friendly: Reheats well, making leftovers a treat instead of an afterthought.
Ingredients
- 1.5 to 2 pounds chicken thighs, boneless and skinless (or chicken breasts, see notes)
- 1 tablespoon olive oil (or neutral oil)
- 1 tablespoon butter
- 4 cloves garlic, minced
- 1/3 cup honey
- 1/4 cup low-sodium soy sauce
- 2 tablespoons rice vinegar (or apple cider vinegar)
- 1/2 teaspoon crushed red pepper flakes (optional, adjust to taste)
- 1/2 cup low-sodium chicken broth (optional, for a looser sauce)
- 1 to 2 teaspoons cornstarch mixed with 2 teaspoons water (optional, for a thicker glaze)
- Salt and black pepper, to taste
- 1 teaspoon toasted sesame oil (optional, for depth)
- 2 green onions, thinly sliced (for garnish)
- Sesame seeds, for garnish (optional)
- Lemon wedges, for serving (optional)
Instructions
- Prep the chicken: Pat the chicken dry with paper towels. Season both sides with salt and black pepper.
Dry chicken sears better and browns more evenly.
- Heat the pan: Set a large skillet over medium-high heat. Add the olive oil and butter. When the butter foams and just starts to brown, it’s hot enough.
- Sear the chicken: Place chicken in a single layer.
Don’t overcrowd. Sear 4–5 minutes per side for thighs (3–4 minutes for thin breasts) until golden. Transfer to a plate; it will finish cooking in the sauce.
- Sauté the garlic: Reduce heat to medium.
If the pan looks dry, add a drizzle of oil. Add minced garlic and cook 30–45 seconds until fragrant. Don’t let it brown too much or it will taste bitter.
- Make the sauce: Stir in honey, soy sauce, and vinegar.
Add crushed red pepper if using. For a saucier dish, add chicken broth now. Scrape up any browned bits; that’s flavor.
- Simmer and thicken: Return chicken to the pan and spoon sauce over the top.
Simmer 4–6 minutes, turning once, until chicken is cooked through (internal temp 165°F/74°C). If you want a thicker glaze, stir in the cornstarch slurry and simmer 1–2 more minutes until glossy.
- Finish: Off the heat, stir in toasted sesame oil if you like. Taste and adjust with salt, pepper, or a squeeze of lemon for brightness.
- Garnish and serve: Top with sliced green onions and sesame seeds.
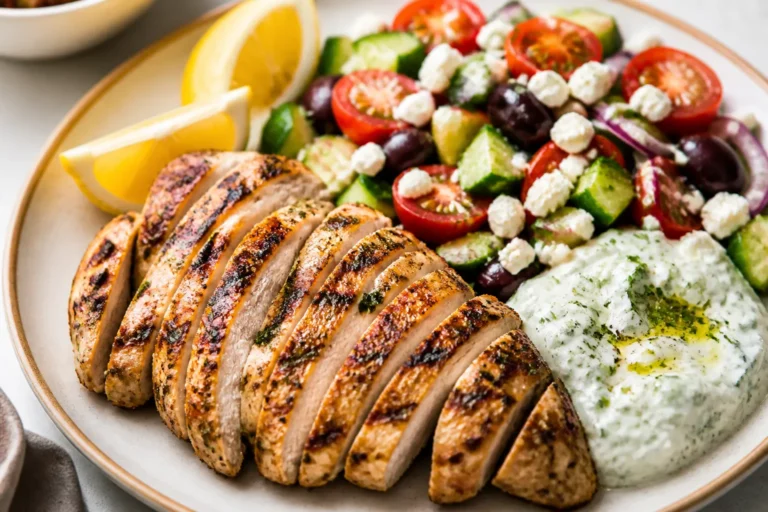
Serve over rice, with roasted veggies, or alongside a crisp salad.
Storage Instructions
- Refrigerate: Cool completely, then store in an airtight container for up to 4 days.
- Freeze: Place cooled chicken and sauce in a freezer-safe bag or container for up to 2 months. Thaw overnight in the fridge.
- Reheat: Warm gently in a skillet over medium-low heat, adding a splash of water or broth to loosen the sauce. Microwave in 30-second bursts, stirring between, to avoid overcooking.
Benefits of This Recipe
- Time-saving: From stove to table in around 30 minutes.
- Budget-friendly: Uses pantry staples and affordable cuts like chicken thighs.
- Kid-approved flavors: Sweet, savory sauce with optional heat keeps everyone happy.
- Flexible pairings: Goes with rice, noodles, quinoa, steamed greens, or a simple vegetable medley.
- Consistent results: Searing first locks in flavor, while a quick simmer ensures tender, juicy meat.
Common Mistakes to Avoid
- Overcrowding the pan: Crowding traps steam and prevents browning.
Sear in batches if needed.
- Burning the garlic: Garlic cooks fast. Add it after searing and lower the heat to avoid bitterness.
- Skipping seasoning: A light salt and pepper on the chicken makes the final dish more flavorful, even with a robust sauce.
- Overcooking chicken breasts: Breasts can go from juicy to dry quickly. Reduce sear time and watch internal temperature closely.
- Too-thick sauce too soon: Add the cornstarch slurry at the end.
Thickening early can cause sticking and scorching.
Variations You Can Try
- Sticky chili version: Add 1–2 tablespoons sriracha or gochujang for a spicy kick, and reduce honey slightly.
- Lemon-garlic twist: Add 1 tablespoon lemon zest and finish with extra lemon juice for a brighter profile.
- Ginger boost: Sauté 1 tablespoon freshly grated ginger with the garlic for extra warmth and depth.
- Coconut glaze: Swap chicken broth for 1/3 cup coconut milk and finish with lime and cilantro.
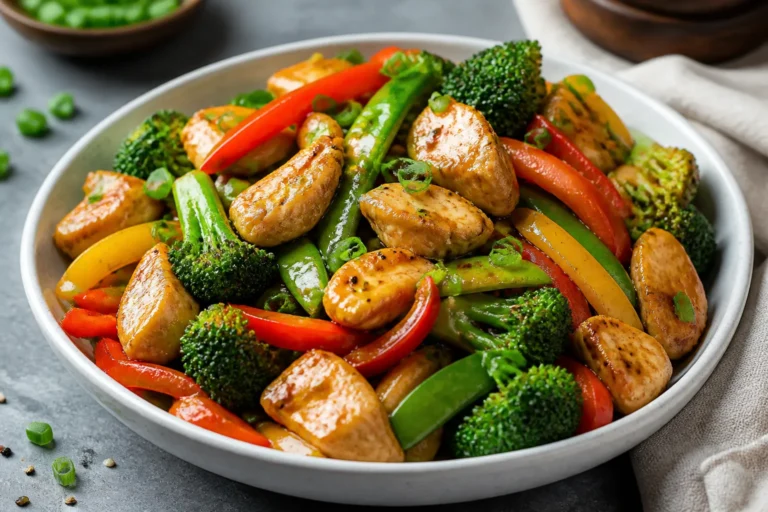
- Veggie add-ins: Toss in snap peas, bell peppers, or broccoli florets during the simmer. Keep pieces bite-sized so they cook quickly.
- Bone-in thighs: Sear skin-side down first, then lower heat and cook longer (total 18–22 minutes), tenting with a lid if needed to cook through.
FAQ
Save time, eat healthier, and take the stress out of dinner.
Get a full week of easy healthy dinners delivered straight to your inbox.
Can I use chicken breasts instead of thighs?
Yes. Slice large breasts horizontally to make thinner cutlets or pound to even thickness.
Sear 3–4 minutes per side, then simmer in the sauce until just cooked through to avoid drying out.
Is there a substitute for soy sauce?
Try low-sodium tamari for a gluten-free option. Coconut aminos also works, though it’s sweeter and less salty, so reduce the honey a bit and add a pinch of salt.
How do I make it less sweet?
Cut the honey to 1/4 cup and increase the vinegar by 1 teaspoon. A squeeze of lemon at the end also brightens and balances sweetness.
Can I make this ahead?
You can mix the sauce ingredients and store them in the fridge for up to 3 days.
When ready to cook, sear the chicken and proceed as written. Cooked leftovers reheat well for quick lunches.
What should I serve with it?
Steamed jasmine rice, garlic butter noodles, or mashed potatoes are great bases. Add a simple side like sautéed green beans, roasted carrots, or a cucumber salad for freshness.
How can I thicken the sauce without cornstarch?
Let the sauce reduce uncovered over medium heat until glossy, stirring often.
Arrowroot powder or a small knob of cold butter whisked in off-heat can also help it cling.
Why did my sauce taste bitter?
It’s likely the garlic browned too much or the pan got too hot. Lower the heat before adding garlic and keep it moving. If it happens, a touch more honey and a splash of water can soften the bitterness.
In Conclusion
One Pan Honey Garlic Chicken is the dependable weeknight dinner that still feels a bit special.
You get crispy sear, sticky-sweet glaze, and bold garlic flavor with almost no cleanup. Keep the steps simple, mind the heat on the garlic, and finish with a little lemon or sesame oil for polish. Pair it with your favorite sides, and enjoy a comforting, satisfying meal without the fuss.
Printable Recipe Card
Want just the essential recipe details without scrolling through the article? Get our printable recipe card with just the ingredients and instructions.
Loved This Recipe?
If you're looking for more simple, healthy dinners your family will actually eat, grab my FREE 7-Day Easy Dinner Reset. You'll get 7 easy dinner recipes, simple grocery lists, and a done-for-you plan that takes the stress out of mealtime.